
Video data is usually locked away in a black box. To get text out of a live stream, you typically have to build a complex stack of software just to handle the input.
In this guide, we’ll walk through how to take a HLS video stream, extract the audio, send it to AWS Transcribe in real-time and then store the results in Amazon S3.
The best part? We aren’t writing any ingestion code. We are going to build the entire pipeline visually in Fifth Layer.
The goal is simple: Turn a video stream into searchable text, reliably and at scale.
The Problem: Why is this hard?
Most developers think transcribing video is just “sending a file to an API.” If only it were that easy.
In the real world, handling HLS is messy (we read the RFC spec for as some light bedtime reading). It gets exponentially harder when you move from VOD to Live. With on demand, you can take your time processing. With Live, you are on a treadmill: if you process 10 seconds of video in 11 seconds, you will fall behind and never catch up.
To build this yourself, you have to:
- Race the clock: Constantly fetch manifests and download segments the instant they appear.
- Decode on the fly: Extract and decode audio tracks while managing buffers.
- Resample: Convert audio to the exact format AWS expects (PCM, 8kHz) in real-time.
- Manage connections: Keep a fragile WebSocket open to AWS without dropping packets.
- Handle drift: Recover from network blips without breaking the real-time sync.
It is easy to lose a several weeks or months just building the “plumbing” before you even get your first word of text.
Fifth Layer acts as that plumbing. It handles the messy buffering, decoding and timing logic for you, so you can treat a live infinite stream just like a static file.
The Workflow
We are going to build a pipeline that handles VOD (Video On Demand) and Live streams exactly the same way. Fifth Layer processes data as it arrives, so whether the video is pre-recorded or happening right now, the workflow doesn’t change.
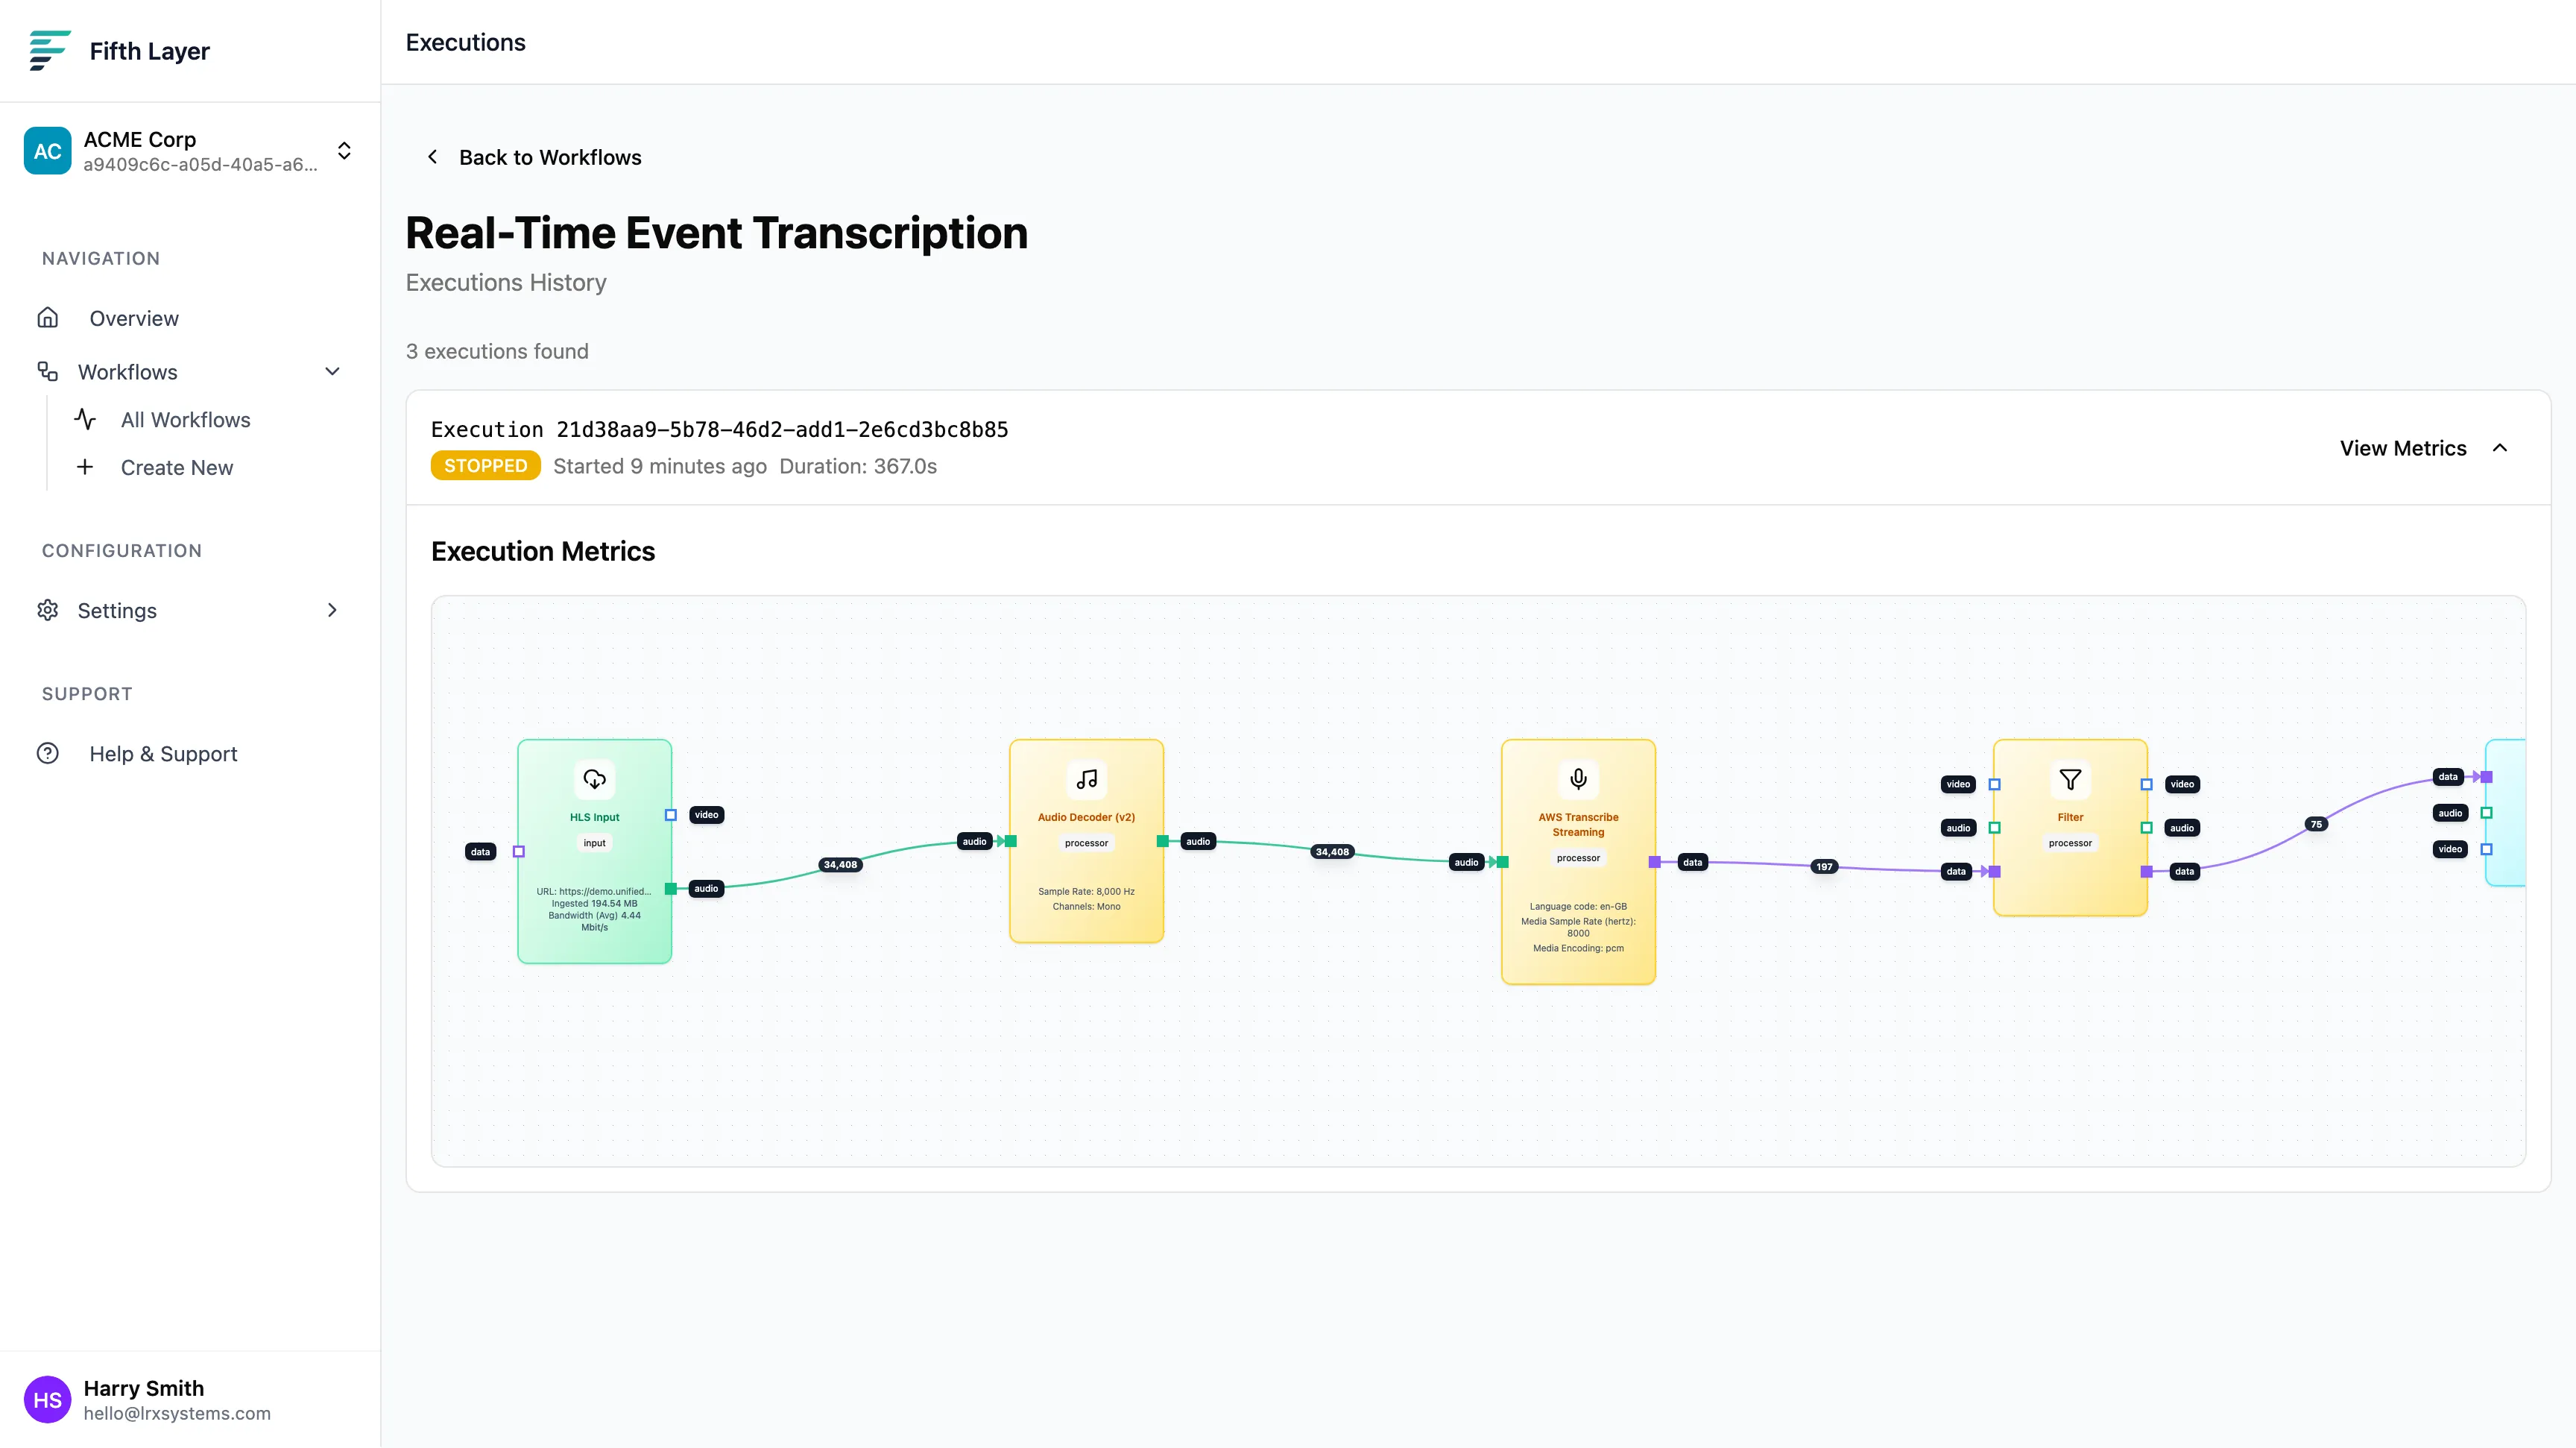
Here is our pipeline:
HLS Input → Audio Decoder → AWS Transcribe → Filter → S3 Output
- HLS Input: Ingests the stream.
- Audio Decoder: Prepares the audio for AI processing.
- AWS Transcribe: Converts speech to text.
- Filter: Removes noise and keeps only final sentences.
- S3 Output: Saves the data for later use.
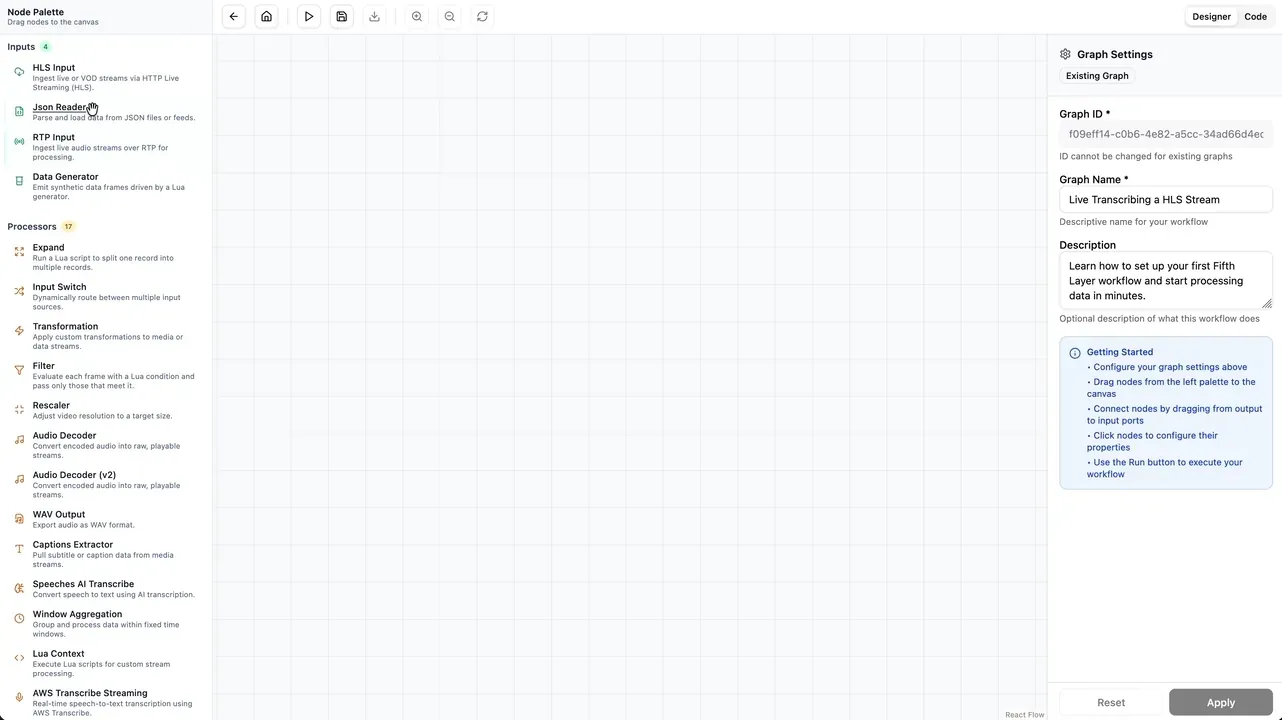
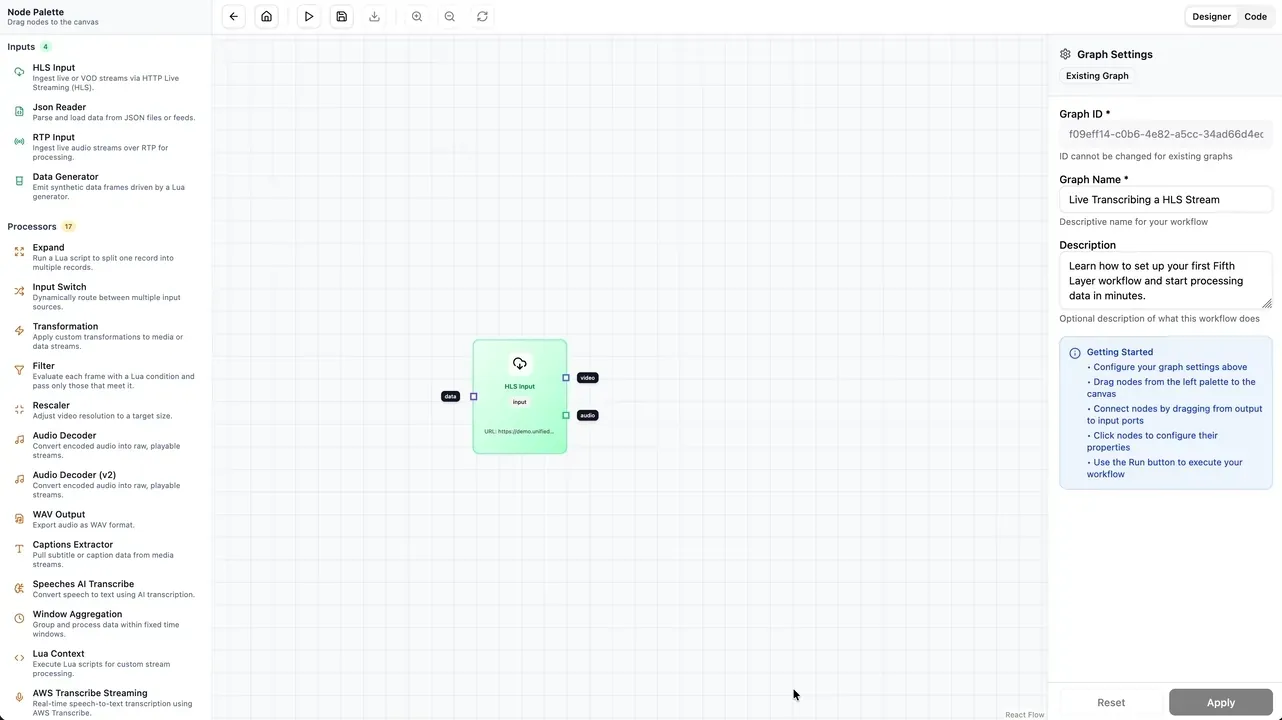
Step 1: Ingest the Stream
First, drag an HLS Input node onto the canvas.
We will use a royalty-free stream from Tears of Steel. Fifth Layer immediately starts handling the manifest parsing and segment downloading for you.
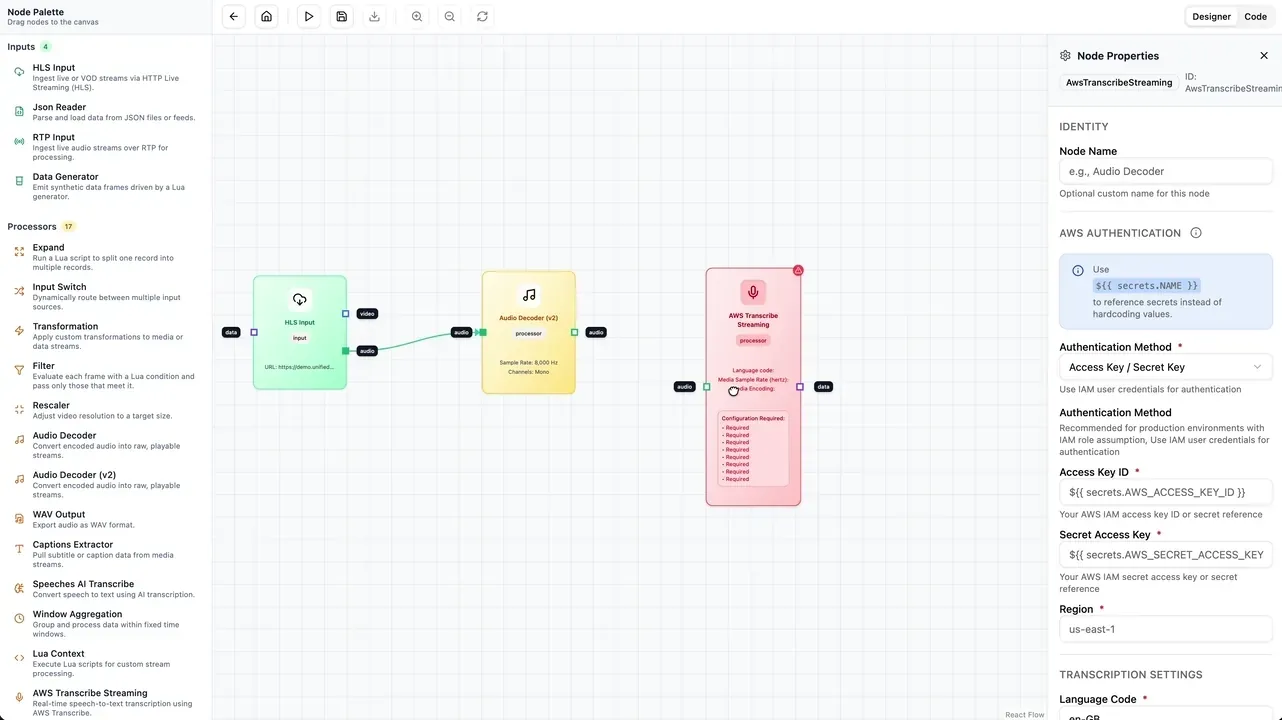
Step 2: Decode the Audio
We can now stage AWS Transcribe’s audio requirements, setting it to PCM audio, mono channel, at a specific sample rate. The raw audio from an HLS stream is usually AAC or MP3, which AWS won’t accept directly via streaming.
Drag in the Audio Decoder (v2) node. Connect the audio output from the HLS node to the input of the Decoder. Set the properties to match AWS requirements:
- Sample Rate:
8000Hz - Channels:
1 (Mono)
Step 3: Connect to AWS Transcribe
Now for the AI. Add the AWS Transcribe Streaming node.
Fifth Layer has a secure Secrets Manager, so you don’t have to hardcode API keys. Select your credentials, choose
your region and set the language (e.g., en-GB).
Make sure the audio settings match your decoder:
- Media Sample Rate:
8000 - Media Encoding:
pcm
Fifth Layer now manages the streaming connection. If the stream pauses or buffers, Fifth Layer keeps the session alive.
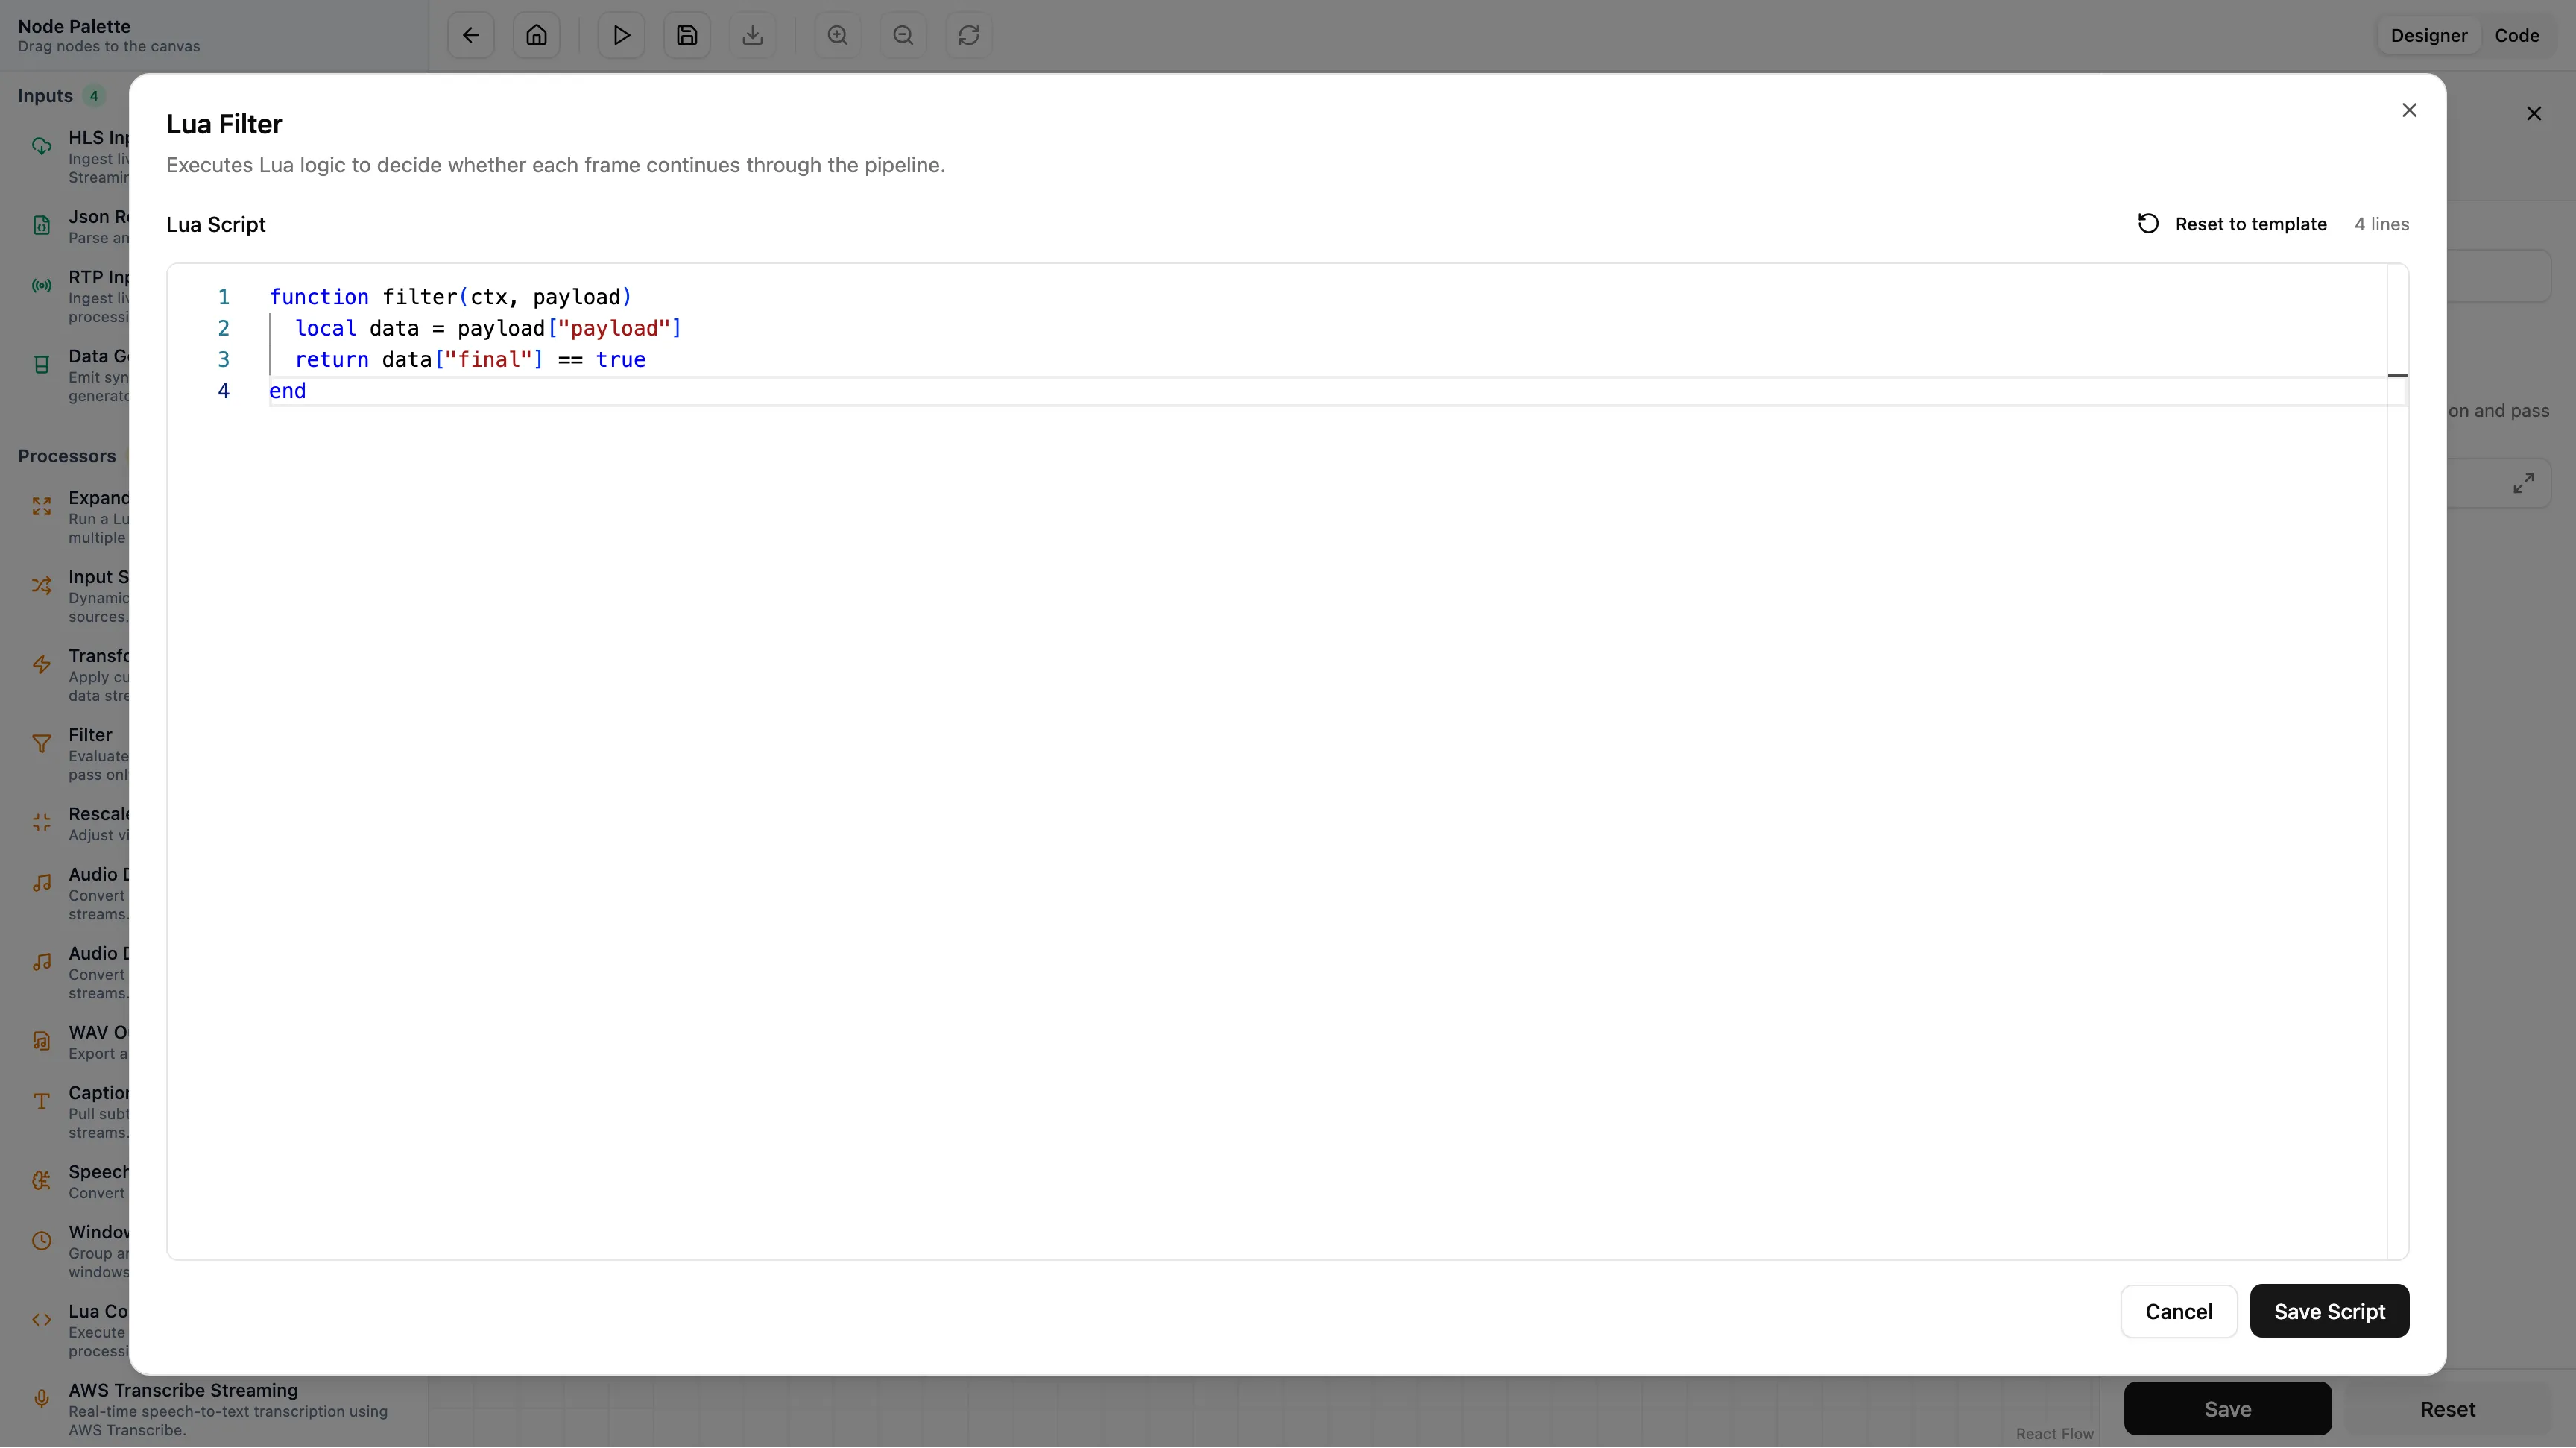
Step 4: Filter the Noise
AWS Transcribe is chatty. It sends constant updates as it guesses the next word. We don’t want these partial guesses; we only want the confirmed, final sentence.
We can filter this data easily using a standard Filter node with a tiny snippet of Lua.
function filter(ctx, payload)
  -- Only let the message pass if "final" is true
  local data = payload["payload"]
  return data["final"] == true
end
This logic runs on every single event. If the transcription isn’t final, it gets dropped. If it is, it passes to the next step.
Step 5: Save to S3
Finally, we store the data. Connect the Filter node to an AWS S3 Output node.
Configure your bucket and set a dynamic key pattern, for example:
transcriptions/${context.id}/${timestamp}.jsonl
This creates a neat archive of every block of text in the video, indexed by time.

Step 6: Run and Monitor
Click Run.
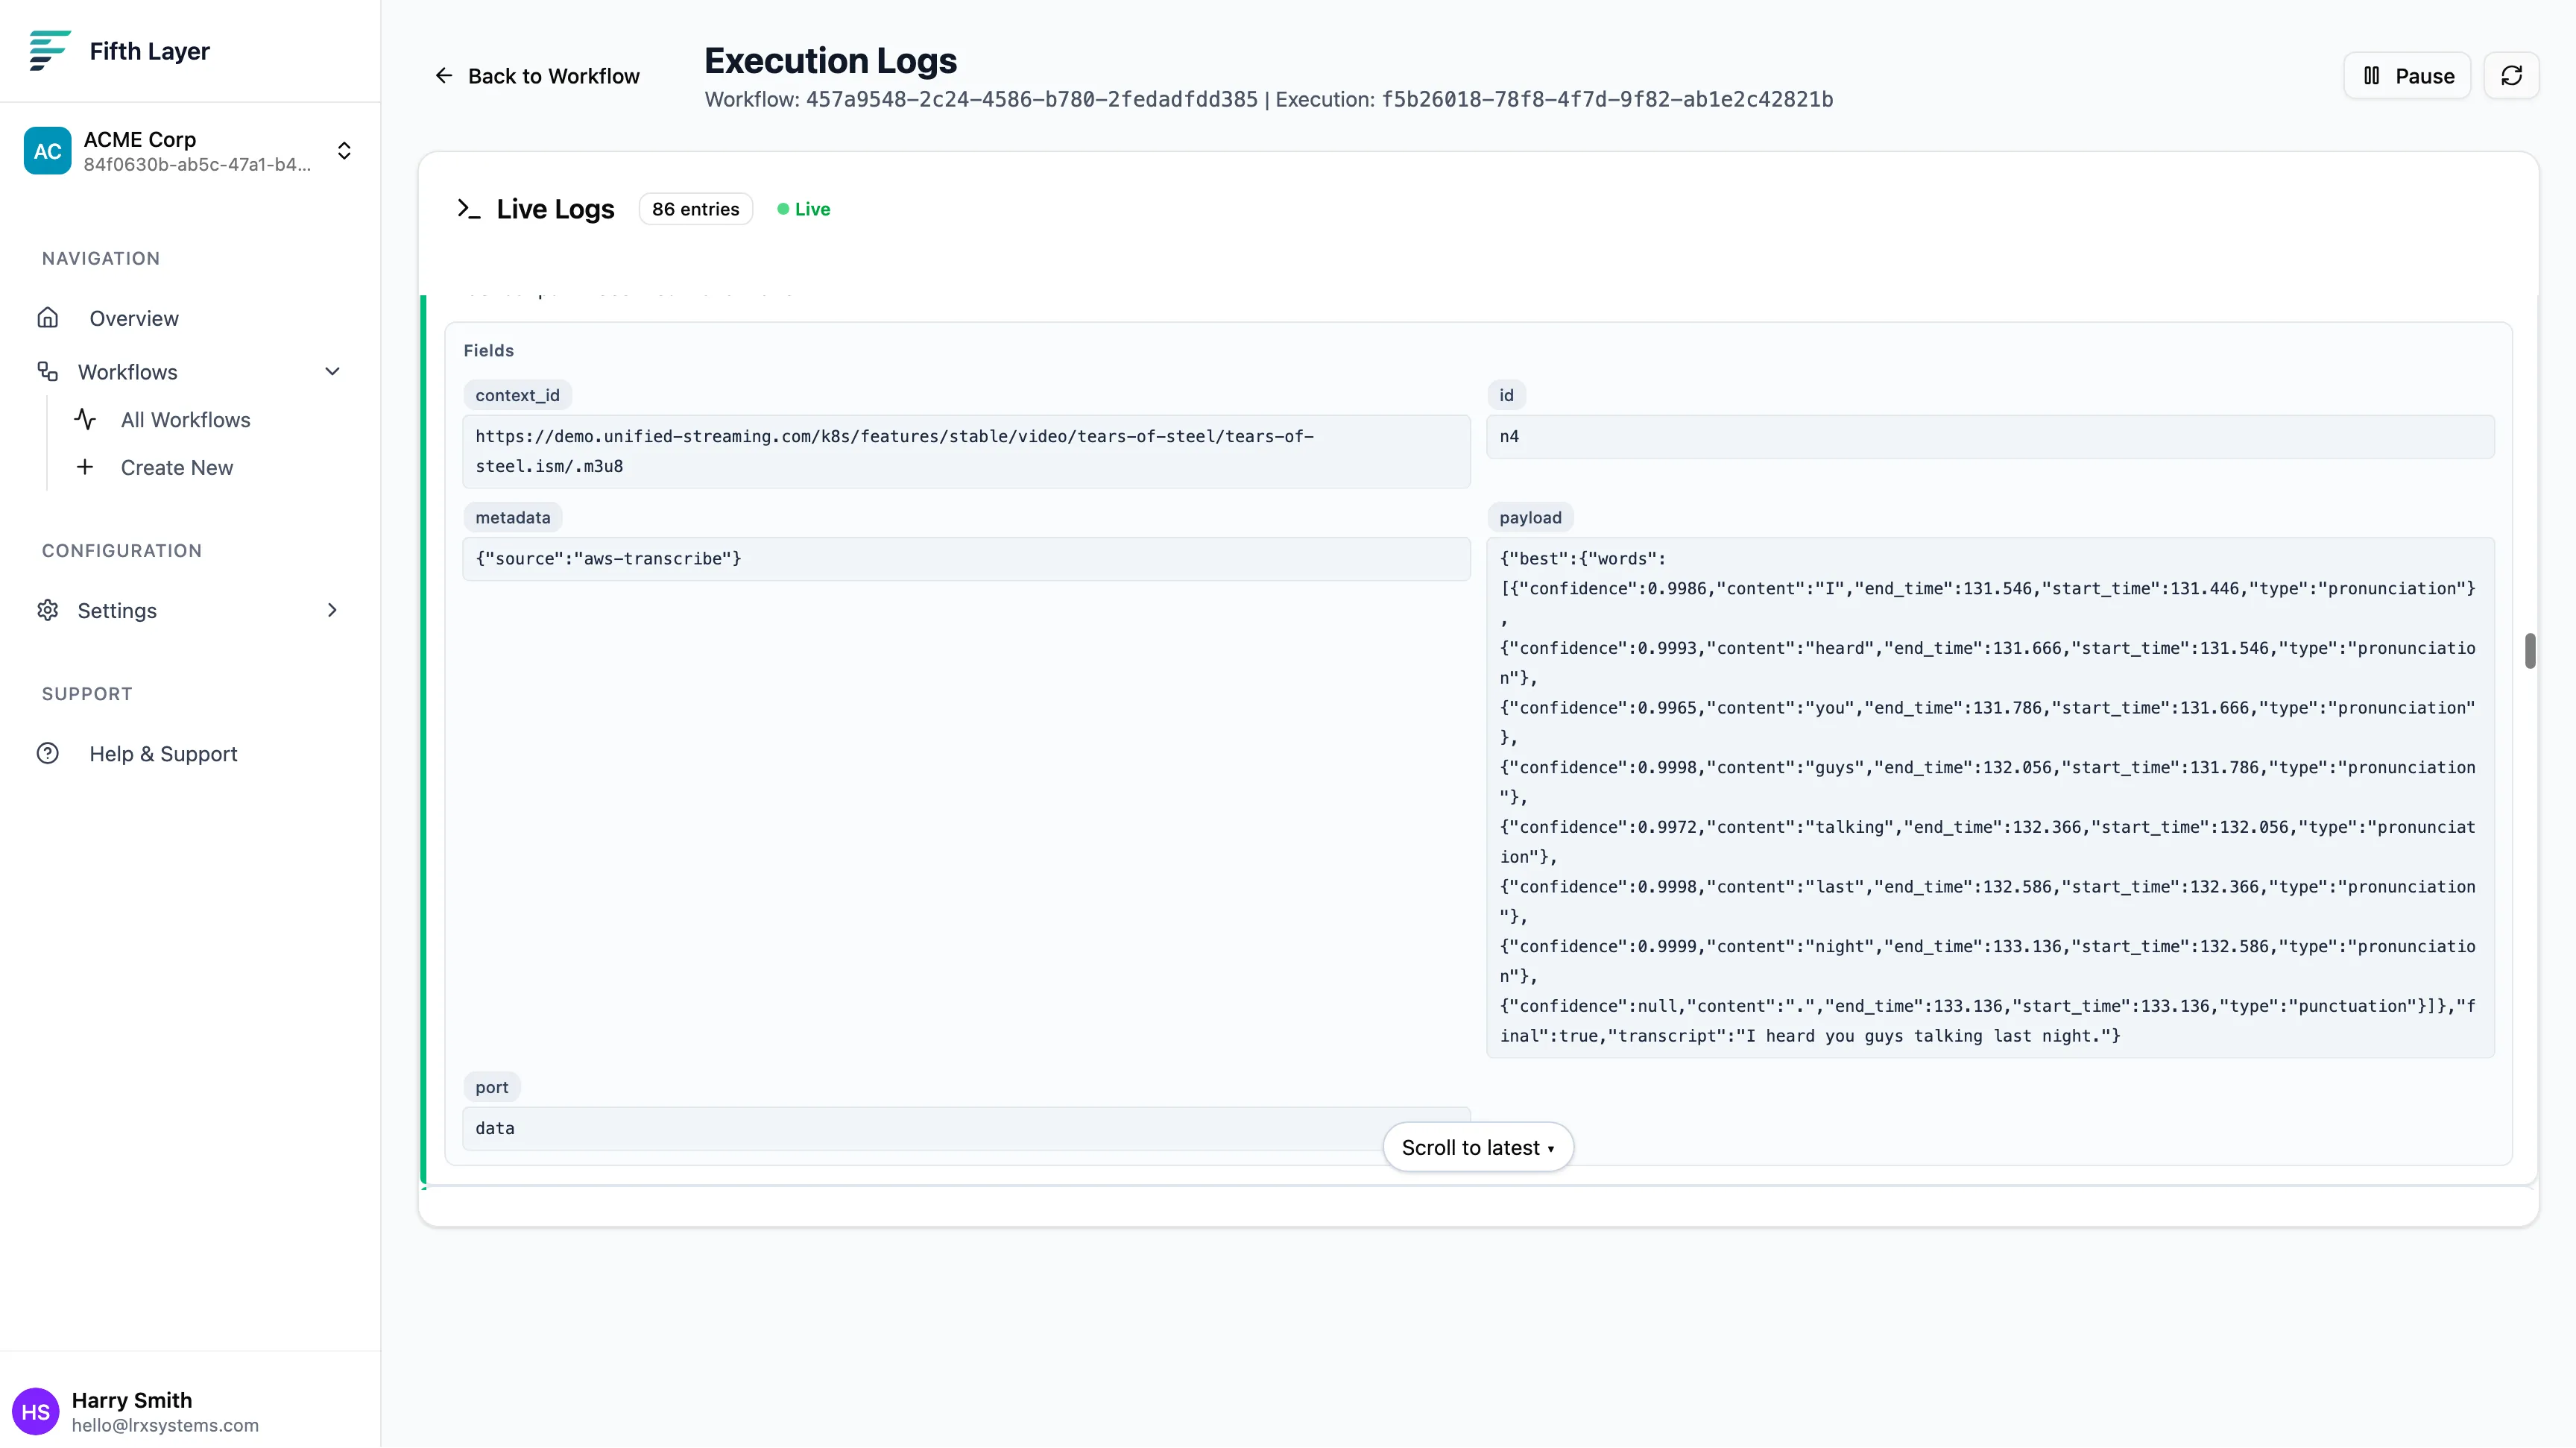
The graph turns green as data flows through. You don’t need to wait for the video to finish… this is real-time. Open the Live Logs tab to see the transcription happening instantly.
You will see JSON objects arriving that look like this:
{
  "transcript": "all right, fine, I'm freaked out...",
  "final": true,
  "best": {
    "words": [
      {
        "content": "all",
        "start_time": 37.666,
        "end_time": 37.776,
        "confidence": 0.9851
      },
      {
        "content": "right",
        "start_time": 37.776,
        "end_time": 37.976,
        "confidence": 0.9968
      }
    ]
  }
}
Summary
In just a few minutes, we built a pipeline that:
- Ingests a complex video stream.
- Decodes audio on the fly.
- Manages a live AI integration.
- Filters and structures the data.
- Archives it to the cloud.
We did this without writing a single line of infrastructure code or worrying about server management.
With this data now in S3, you can easily build keyword alerts, video search engines or automatic summarisation tools. The video is no longer a black box—it’s data you can use.